Hi, my name is Aisyah Rozi. This is my personal blog where I share my life experience, thoughts, ideas and occasionally, my projects. Recently, however, I share a lot about being a young mother. I'm also a YouTuber, so do checkout my channel! <3

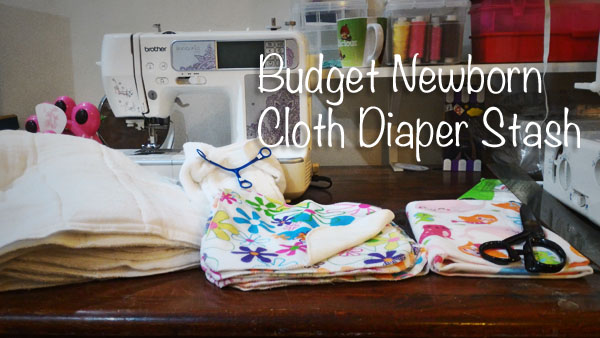
Newborn Cloth Diaper stash: On a Budget

Jpeg

I feel like having a new baby means a few DIY items. With Sara, I made some blankets, pillows, nap mat and also pregnancy pillow. Now, with the second one, it’s cloth diapering stuff.

So.. this time I made some newborn sized prefolds and also cloth wipes. With Sara, we started cloth when she was over 4 months old. So we have never diapered a newborn. One size is wayyy too big for tiny newborns.

Newborns poop a lot. Most of the time, they need to be changed every 2 hours. That’s 12 diaper change in 24 hours! Now, we are planning to use disposables for the first week as laundry may seem too much. After that, hopefully, we’ll be all set to do cloth. After much research, here’s how my newborn stash looks like. My stash is built based on a small budget, to launder everyday.

12 Newborn Prefolds  
Jpeg
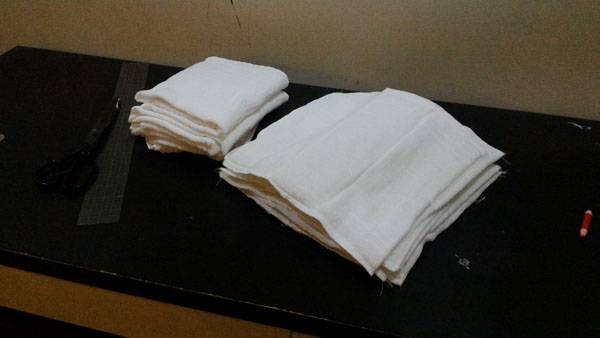
Prefolds are so much easier to use than flats, and for more bang for the buck, I made them my own, converted from the traditional ‘kain lampin’ flats! So.. I only spent Rm36 for 12 prefolds. Woot woot! I also got a pair of those snappi diaper fastener.

7 Small Sized Prefolds
In case the little one grows out of the newborn size earlier, but still too small for one-size dipes.

5 Flats
As backup in case I run out of diapers. These are only the traditional kain lampin that can also be used as swaddling blankets. 🙂

5 Wipeable Newborn Covers
Prefolds and flats need waterproof covers. I guess I prefer wipeable covers so I can use them twice (maybe thrice) before needing washing. I suppose five would suffice. I bought the Happy Flute covers for just RM19 per pc at SweetLunaShop.

4 Newborn AIO
These AIO’s (All-In-Ones) are for night time use where I don’t think I’m up for some origami in the middle of the night. They work like disposables, no pocket or anything to stuff. I got the THX brand for just RM18 each (on sale from RM26!). A lot of people say they are similar to Lil Joey’s NB AIOs.  Actually, I would get more of them, but this is budget cloth diapering. heheh. :p

3 Bamboo Boosters 
I made them my own using leftovers from the wipes fabric. I just made 3″ x 8″ 2ply bamboo terry in case the baby outgrow the absorbency of the newborn dipes before outgrowing the size. Should I need more, I can just quickly whip out from bamboo fleece I have laying around in my sewing room. Easy peasy.

Cloth Wipes
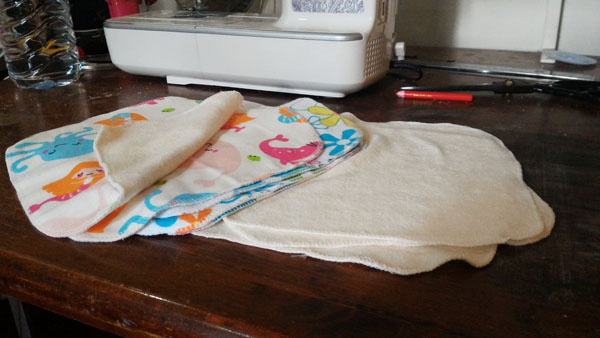
I heard cloth wipes make GREAT wipes. More so than the disposable ones, that are loaded with unnecessary chemicals. I have no experience with cloth wipes, and I have no idea what kind of wipes I would prefer, so I went with the most popular one which is bamboo terry and flannel. Again, to keep my budget low, I made them myself. They are so easy and quick to make. I made 20 of 8″x8″  flannel + bamboo terry wipes, and 8 of single layer bamboo terry as I heard it’s also good to have thin wipes. In total I have 28 wipes.
Jpeg

Oh.. I just love these wipes. They are so so soft and the bamboo terry feels luxurious! Plus, they look so cute! 😛

So that’s it, newborn stash! Now please excuse me, I need to do some laundry 😉
How I keep my baby calm while getting things done.

Before I had Sara, I always had my own ideas about parenting. What I’m gonna do, how am I gonna deal with her fussiness or whatever, and that includes the kind of baby gears that I might like.

For example, when it comes to carrying Sara while we’re out an about. We bought a nice Bumbleride stroller which we love. I never thought about buying a baby carrier whatsoever because I thought it’s not ‘cool’. (what is cool anyway?)

Then, when Sara was around 6 weeks, she started to become fussy. She wanted to be held, and she wanted comfort nursing almost ALL the time. She nursed for up to 1 hour and a half at one time. Day or night. Everyday felt like a battle. I was stressed out because I felt constrained.  So I started to make a research on how to cope with this. I read an article which suggested babywearing.

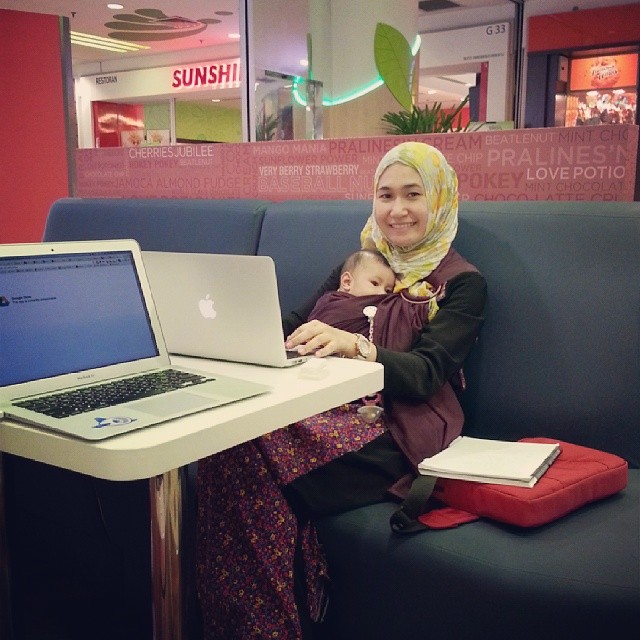
I had never considered babywearing before, and I was overwhelmed by the many types of baby carrier. There are ring slings, wraps,soft structured carriers and few others. I did tons of research. Finally, I rented a linen Jumpsac ring sling from SentuhanBayu. Once I got it, I practiced wearing it for a week, with help from youtube and the facebook babywearing support group. Oh, once I got it right, things started to get easier. I was able to put my fussy baby to sleep in just a few minutes, and let me add -handsfree! Of course I love that!

After 2 weeks of wearing her, she fussed a lot less. A LOT. Nursing time gradually reduced to 45 minutes,  30minutes, then 20, and now only 10 minutes. Any longer, she’d puke the excess milk. And then I realized one thing, she wanted comfort nursing because well, she wanted to comfort herself. Also, all she wanted was to be close to me!  With the ring sling, I was able to provide her just that, while still going on with my life, chores or whatever needs to be done. Surely I won’t be able to do heavy chores with baby in front of me, (ironing is a risky task, unless if I pop her at the back!).

Screen Shot 2014-04-24 at 10.48.52 AM

So, once my ring sling rental was over, I went ahead and made my own right sling. Of course!

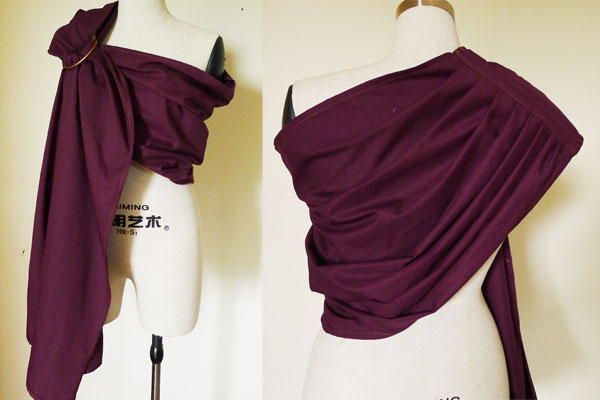
lightly padded shoulder ring sling

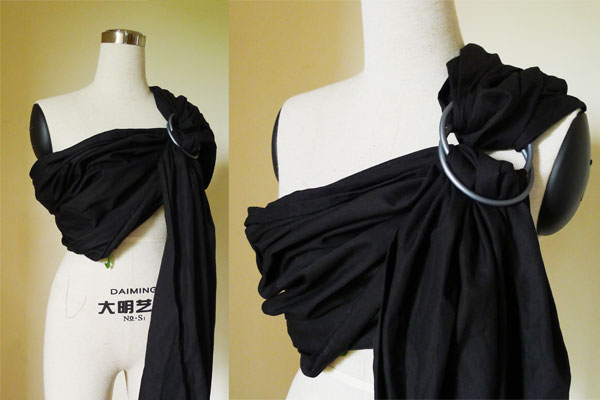
I used cotton drill (the fabric used to make uniforms or men’s shirt). It’s sturdy because it has additional diagonal weave, I wasn’t able to rip it apart. Since it’s that sturdy, I only have to use one layer of it. Linen might be a better option because it gets stronger over time, but it’s not my favourite because I find it too warm on me. I made two, one with gathered shoulder and one lightly padded. I’m surprised to find the simple gathered shoulder is more comfy! Perhaps that’s just my preference.

black-ring-sling-aisyahrozi

 simple gathered shoulder ring sling

Oh also, the sling rings are made especially for this purpose. It’s unwelded aluminum rings, and weight tested and made in US. I bought them from Snuggbaby.com

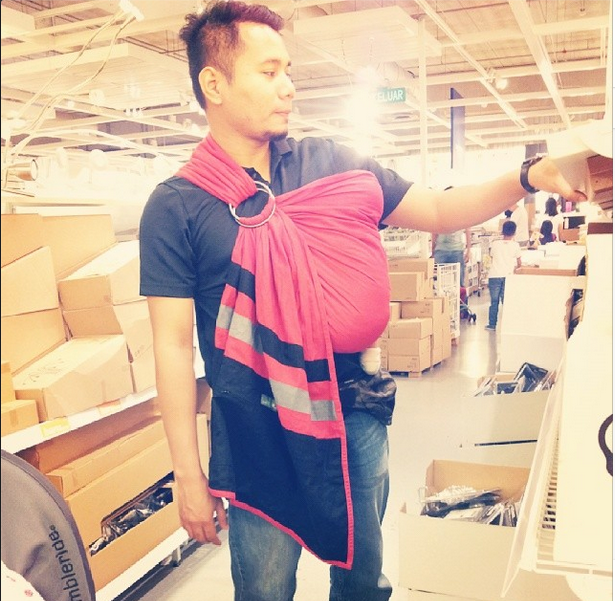
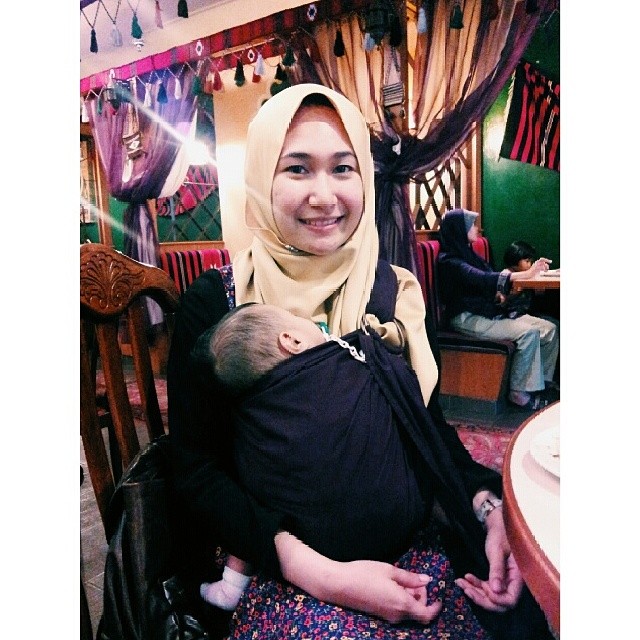
Before I knew it, ring sling is a staple wherever we go, even with our stroller. Whenever she’s awake or doesn’t wanna be alone in the stroller, I just pop her right in and she doze off. Now she enjoys looking around at eye’s level. One of the best thing about it, I don’t have to keep an eye on the stroller during shopping, because she’s literally right under my nose. haha! Babywearing is so practical and serves as a useful tool for parents. I can’t imagine caring for Sara without it.

makan-w-intan-ring-sling

date with my best gal


ring-sling-bfast

breakfast with ze hubster

ring sling makan w family

Makan-makan with family


ring sling work

working outside


Babywearing is a mutual. My baby gets the love and security she needs and I get my hands free. WIN-WIN. Period.

Contrary to my misconception about babywearing, it doesn’t make my baby clingy at all, if anything, it made her less clingy because she’s so secure and she knows that I’ll always be there for her. Plus, it makes me feel like a supermom, being able to ‘wear’ her and make morning coffee for my husband. 😉

Oh, a bonus. I learned how to nurse her in the ring sling! Yep, I can NIP on the go!  It’s such an achievement and it brought babywearing to the next level. I can now walk around while nursing her in the ring sling! No need to find a seat anymore. I even shopped while she’s nursing discreetly! woot! *dances like a monkey* It certainly makes my life 100 times easier and Sara is a happy baby Alhamdulillah!

Who knew I would be so into natural parenting. I enjoy it so much! Next up: cloth diapering. yeah, you heard me. CLOTH DIAPERING.

P.s, I’m putting her to sleep in my ring sling as I’m writing this.

p.p.s, NIP = nursing in public

*IMPORTANT NOTE*

Before babywearing, ensure that you do enough research to make sure that you are pacticing safe babywearing. Using suitable carriers for baby’s age and using it correctly is very important as safety is vital. These list should get you started on your reasech.

Babywearing Reasources:

Cot Caddy & Baby Cot Issues (DIY Baby Project pt. 3)

On one of my sleepless nights, (yes, another perks of third trimester common symptoms) I got an idea of making a caddy for the baby cot. I heard that sometimes babies need nappy change at night, and at this point, I’m willing to invest in anything to make my night time easier.

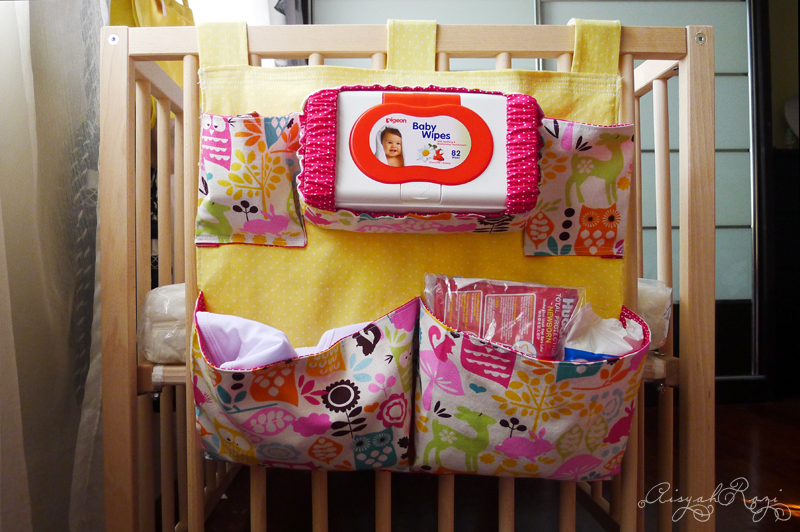
After imagining the constructions in my head, I bought some medium weight fabrics. They feels more like a light canvas, and fairly easy to work with. Actually, I was quite intimidated to sew using medium weight fabrics, only because this project calls for sturdy, sturdy construction because I decided to include a holder for the baby wipes and they are quite heavy, fully loaded.

Eventually, this was born.

crib-caddy-loaded

I got the fabrics from MayMay Shop. They have quite unique selection of imported fabrics at reasonable price. The colours on the website are close to accurate, which is important to me.  The downside is they take up to 2 days to post out orders.

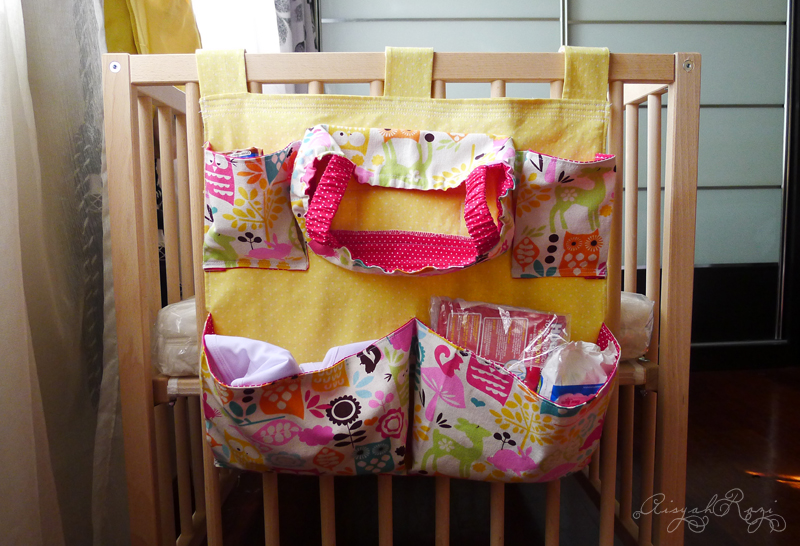
crib-caddy-full

I used  elastics to secure the baby wipe case.

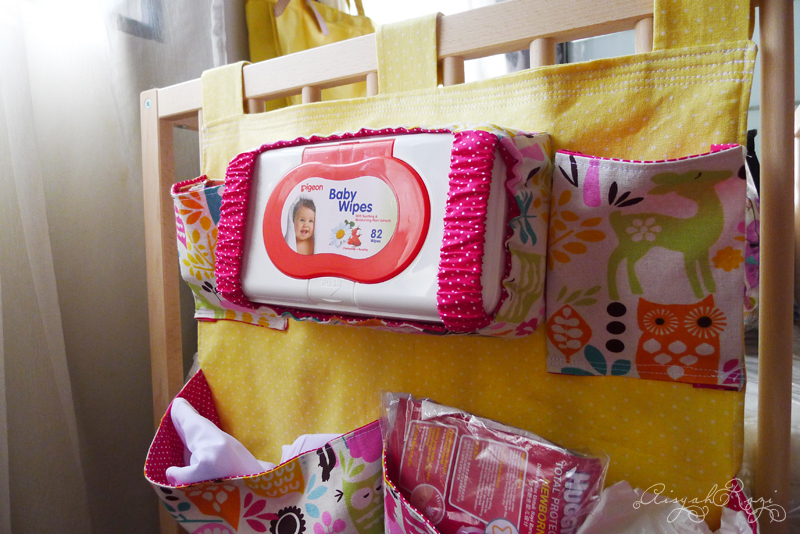
crib-caddy-upclose

I made a couple of top stitch lines at the top to make it more sturdy. Otherwise when the baby wipes case is loaded, the fabric will pull slightly. The small pockets on top is to hold small essential items like nappy cream, and perhaps lotion or baby oil.

The two bottom pockets are for diapers and some clothes.

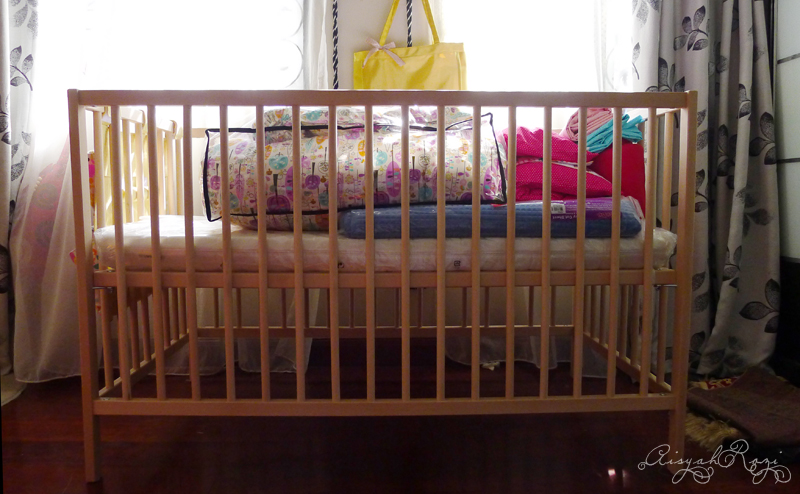
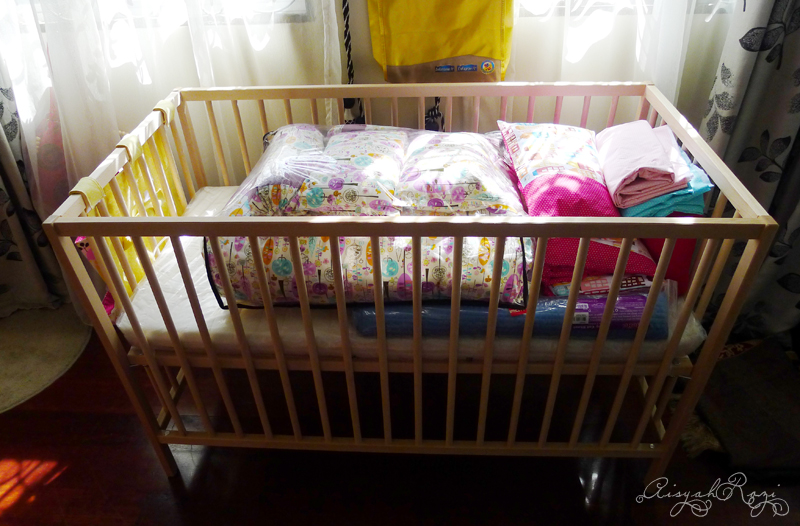
We got this SNIGLAR baby cot at Ikea. It costs RM165, (whaaat!). It doesn’t have a drop down side though, which I don’t really see the point of it. It’s either you co-sleep or not. Choose! At first I wasn’t too keen on getting this one because it’s Ikea. However, the reviews proved that this cot is long lasting, sturdy and meets safety standards in various countries. We tested it, and yes it is sturdy. We are sold.

sniglar-baby-cot

Anyway, what I love about it that the highest bed setting level up to our bed, and it’s paint-free! Meaning it’s low VOC and I’m just a freak when it comes to chemicals and stuff. I also love that it’s so simple and modern.

sniglar-baby-cot-2

Of course we are not putting this baby cot by the window. It’s just temporary until baby arrives. We also got the VYSSA SNOSA mattress for RM99 and also a mattress protector, LEN for RM29.90. Inside the cot: Tilam kekabu and baby nap mat.

Apparently, people are very opinionated when it comes to baby cot. In our Malay culture especially, we co-sleep with babies up until they are 2, (some even more than that). To me, it doesn’t matter if you want to co-sleep with your baby or not, I believe every parent is different, and they know what’s best for their children.

We’ve decided to use the baby cot for a number of reasons. My husband may have different reasons, but here are mine.

Number one reason is safety. My husband is a heavy sleeper, sometimes he even roll up against my side and I had to wake him up to move. We tried to move our furnitures around so that our bedside is placed against the wall, but Eddie disliked the arrangements and won’t stand it (I agree but was willing to compromise). In addition, I think we occupy most of the bed already and I wouldn’t want to have my sleep compromised because I don’t have enough space.

Next is attachment issues. I wouldn’t want my child to be too attached to me. I want her to be more independent. Also, having her in the cot will teach her boundaries. I’ll cuddle her, feed her and give all my attention to her but when it’s night time, I go to my bed and she goes to hers.

Whenever we mention we bought a baby cot, people would laugh and say it will never happen.

To me, I believe we can teach our children however we want them to be. If we speak English to them, they’ll speak English.  If we talk to them a lot, they’ll know how to keep conversation going. If we let them play, run, fall and make mistakes,  they’ll learn how to be fearless. If we put them in baby cot from day one, they’ll sleep in the baby cot.

Also, it’s not like I will put the baby cot in another room or anything, I will have the cot near our bed. So she’ll be safe and sound and also within my reach for me to feed her. If all else fails, I can just remove one side of the cot and have it pushed against the side of our bed, so it feels like co-sleeping but she’ll be on her own bed.

Kekabu Bed Set Covers (Baby DIY Project, part 2!)

kekabu-fabric

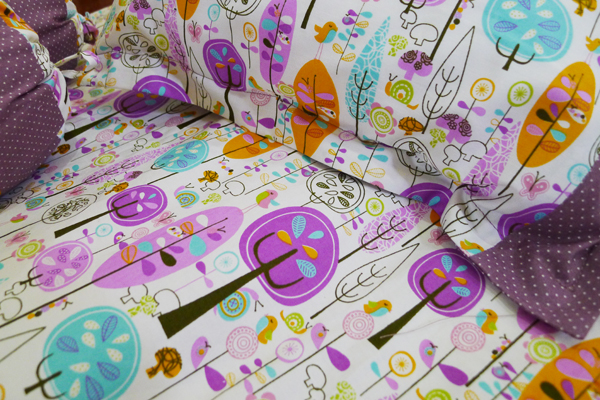
For this particular project, I ordered my fabric online at Kewl Cotton. I came home yesterday from Friday brunch with Syad to find my package arrived on time! Yeaay! I was so excited to start on the project, and I immediately pre-washed the fabric. Luckily the weather was in my favour and the fabrics dried within an hour.

Just a note, I always pre-wash my cotton fabrics. Since this one doesn’t have much starch (which is great!) I didn’t have to soak it. So I only pre-washed it incase it shrinks (although the owner claimed this one doesn’t shrink) it doesn’t hurt to be on the safe side!

I recommend this shop to get your cotton fabrics, she has some really cute designs! However, do be careful with the colours as the colours in her albums are not so accurate. Regardless, the owner is really nice and she helped me to match the fabrics according to the colours. Weee! It can be confusing to match colours on screen.

Anyhow, after sewing most of the evening, I finished this project this morning. Normally, I should’ve done it in shorter time, but being enormously pregnant, sewing was definitely a challenge. If it was not for my belly getting in the way, my feet would get bloated when I stay in the same spot. So I had to take a break every hour or so or I’ll have to walk like a zombie in the most awkward way. Not very elegant I would say.

tilam-kekabu

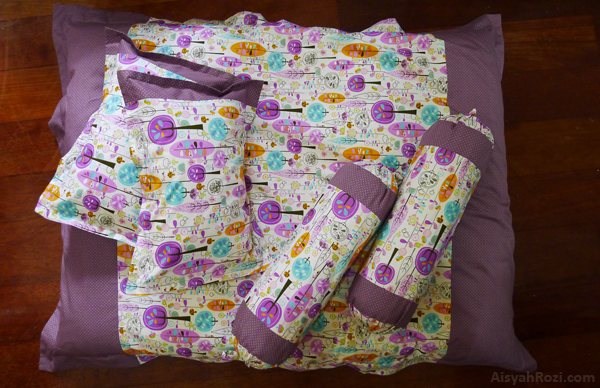
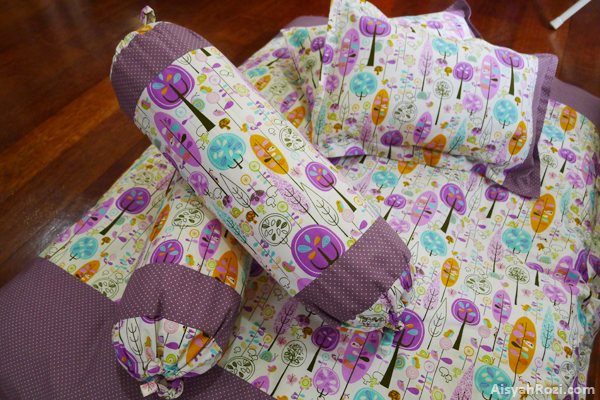
Set Tilam Kekabu. I’ve been looking for it for a while. Found online ones, and they are pretty expensive. The good looking ones cost above RM200. So Eddie asked his mum incase she knows where to get them in Penang. And guess what, she got a set for us! Yeay, Alhamdulillah. She said Eddie’s aunt got this one on the roadside or something, just like that. Kekabu is really hard to find in the city.

My mum said it’s very rare nowadays. She put all of us on tilam kekabu when we were babies, and she even made it herself. She only had to make one set, and it lasted all through her 5 babies, only the covers changed. So, Alhamdulillah for this one. I hope this one will last as long too.

kekabu-bantal

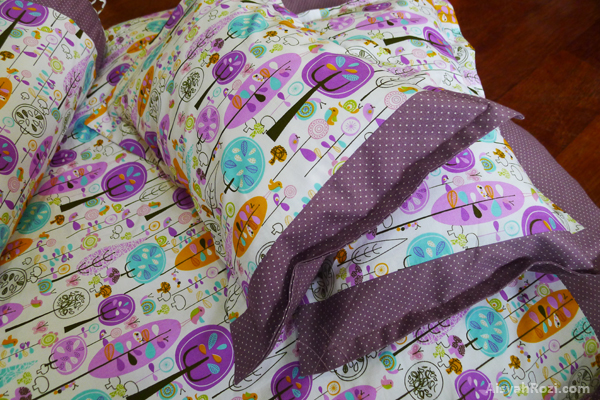
The set comes with two bolsters and two infant pillows. The first bolster was a pain, only because I didn’t know how to construct it. Once I figured it out though, it came easy.

bantal-kekabu

The pillows.. I screwed up the measurements but I guess it worked. Just not as perfect as I envisioned it.

I had a lot of facepalm moments with this one.

First, the table light on the working table was mysteriously missing. I pretty much sewed the bed cover in the dark. My eyes almost went blind because I couldn’t see where the threads were going. After I was done, I realized the table lamp was sitting on the floor, right next to where I was sitting when I was measuring and cutting the fabric! WTF??!!! UGH HAHAHAHA. I facepalmed really hard. Literally.

Next, as I tried the bed cover on the tilam kekabu, I realized it needed velcro or some sort of closure to make it look neater from the top. So, I grabbed the thinnest velcro I had. Only, this velcro has glue on the back. I was happy to use it because of the convenience of the glue.

Then I started sewing the velcro on. It was great for a couple of stitches  before the problem arose. The machine stopped stitching! After much struggle, I realized that it was the glue getting to the needle and thread, thus making any stitch impossible. I had  12″ of velcro to sew on, and there were two pieces! I just, wanted to stab myself for getting into so much trouble. I should’ve just used the 2″ of regular velcro and saved me all these trouble.

Finally, no thanks to this preggo brain, I measured AND cut both of my bolster and pillow covers wrongly. The bolster covers were fortunate because I cut them bigger in size. So it was just the extra work. However, the pillow covers were 1″ short. And I had to compromise. Unhappy about it, but I had to compromise because I used up all my fabrics. and I hate compromising my projects! *architect in me talking LOL*

The conclusion is, I should’ve started making the baby projects earlier. Best is before 30 weeks. Being 37 weeks and trying to work, is definitely a challenge. For me, I just can’t avoid it. I was so busy before and now that I’m not, I’ve got this crazy eyes going on that I just HAD to make all these projects.

Overall, I’m very pleased with the result (if I can forget the imperfect pillows). LOL. Now lets just focus on the cuteness of this tilam kekabu! Love! Hope my baby will love it. She’s got a dedicated (and crazy nuts) mummy  ;D

Go Top