Hi, my name is Aisyah Rozi. This is my personal blog where I share my life experience, thoughts, ideas and occasionally, my projects. Recently, however, I share a lot about being a young mother. I'm also a YouTuber, so do checkout my channel! <3

My greatest achievement in life, at 23 years old.

As many of you know, I gave birth to Sara, on 31st October. It was an amazingly beautiful day, indeed. Sara is now 27 days, she’ll be 4 weeks tomorrow. As far as my recovery, I finally feel a lot better now.

Although my pregnancy was smooth and relatively easy than other women I know, it was really tough and challenging. If you ask me when I was pregnant, I would say being pregnant is not worth it! Yes, that sounded bad.

Then came labour. I was really terrified of labour. I was. I researched so deep so that I could be physically and mentally prepared. I practiced visualisation every day and think positively about my labour. 6 hours in labour, and it turned out to be the most painful yet the easiest thing. It went smoothly according to my visualisation, Alhamdulillah.

Now, the postpartum. It is the worst thing about having a baby. It’s a lot of pain. Contraction pains, breast and nipple pain, body aches, perineal pain, pelvic girdle pain, you name it. My recovery was slow and I was in 3 weeks of agony. I cried so much.

The first 2 weeks, I lost hope that I will ever recover. I guess it was the baby blues talking. Came the third week, I started feeling more sane, and tried to think positively about my recovery. Soon, I started to see improvements. Talk about mind over matter!

Now that my baby blues are completely gone, I’m starting to enjoy taking care of Sara. It used to feel like a chore, perhaps it was all those pain I was feeling. I love waking up in the morning to Sara. She’s the best thing that’s ever happened to me. To us.

I can never forget the first time she was thrown onto my chest right after she came out. Yes, thrown is the exact word. I looked at her and I did not know what was this moving thing that just came out of me. She looked so pale and grey. Guess  I was still fuzzy from the labour. Then, she was taken away, the nurse put a blanket on and swaddled her. Soon she was given back to me while the doctor sutured my perineal tear.

I looked at her and her eyes were wide open glancing back and forth between me, Eddie and the surrounding. She looked like she was trying to understand where she was and what was she seeing (although she probably couldn’t see anything clearly then).

Immediately, I fell in love with her. I was shedding tears of joy. I’m  truly happy that she came into this world. She’s so perfect and beautiful. I had never been so thankful in my life before. Everyday, since she was born, I thank Allah for this gift. I feel so blessed for having her.


newborn

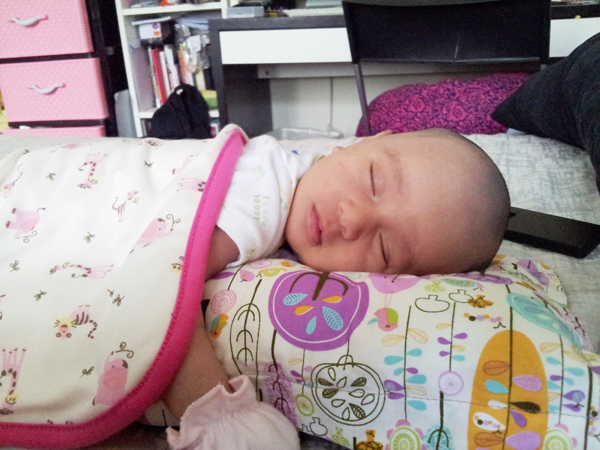
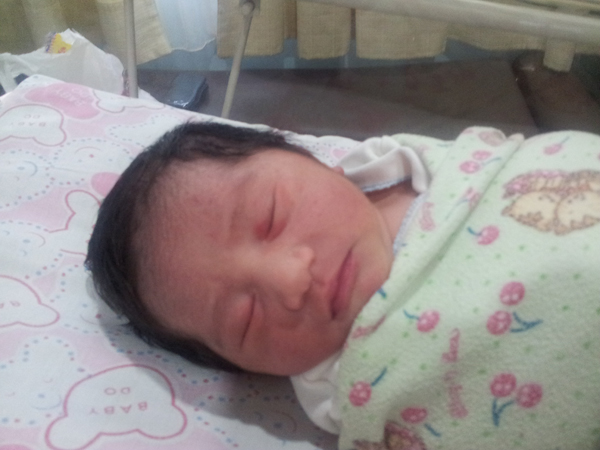
Sara, a few hours after she was born.

2013-11-08-09.35

9 days old


2013-11-20-12.01

21 days old

If you ask me now, she is definitely worth it. It was worth all the pain, agony and not to mention, all those emotional roller coaster. Truly, she is a gift. And she’s my personal achievement.

P.s, Read my husband’s story on my labour.

P.p.s, I will write about labour and postpartum recovery soon.
Cot Caddy & Baby Cot Issues (DIY Baby Project pt. 3)

On one of my sleepless nights, (yes, another perks of third trimester common symptoms) I got an idea of making a caddy for the baby cot. I heard that sometimes babies need nappy change at night, and at this point, I’m willing to invest in anything to make my night time easier.

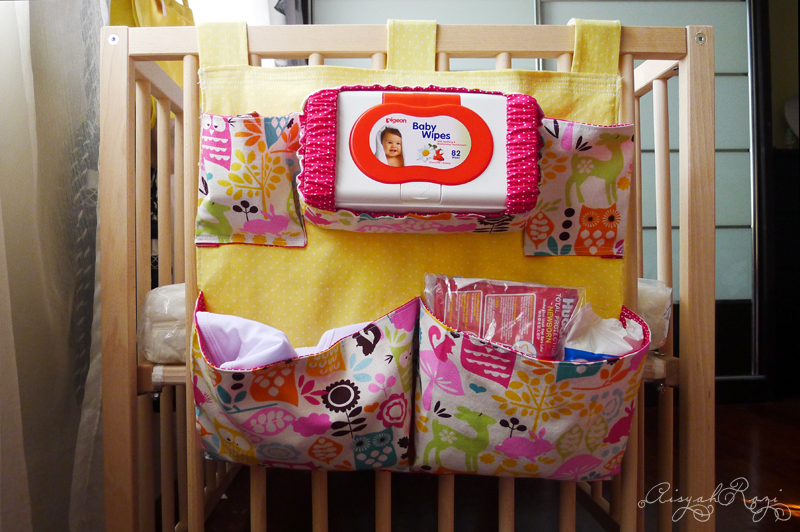
After imagining the constructions in my head, I bought some medium weight fabrics. They feels more like a light canvas, and fairly easy to work with. Actually, I was quite intimidated to sew using medium weight fabrics, only because this project calls for sturdy, sturdy construction because I decided to include a holder for the baby wipes and they are quite heavy, fully loaded.

Eventually, this was born.

crib-caddy-loaded

I got the fabrics from MayMay Shop. They have quite unique selection of imported fabrics at reasonable price. The colours on the website are close to accurate, which is important to me.  The downside is they take up to 2 days to post out orders.

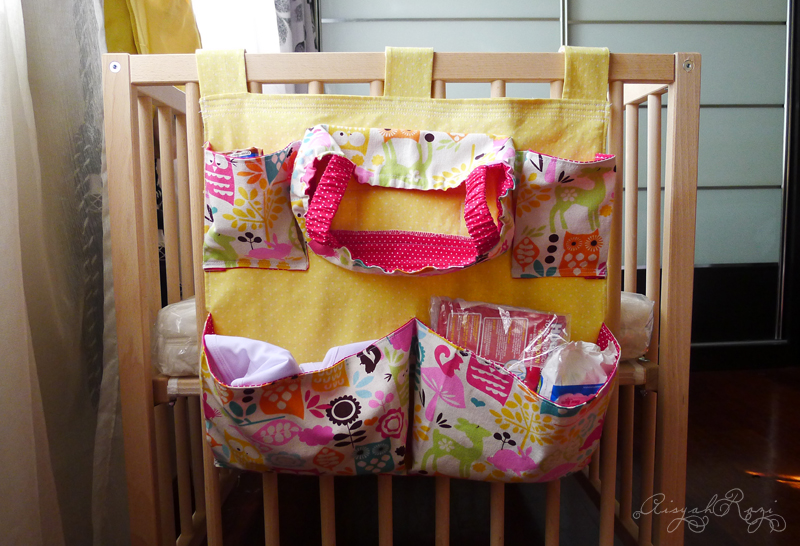
crib-caddy-full

I used  elastics to secure the baby wipe case.

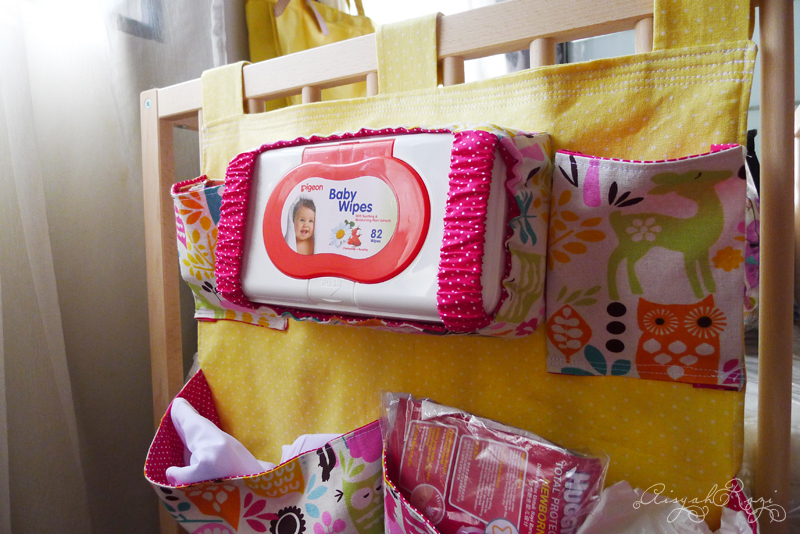
crib-caddy-upclose

I made a couple of top stitch lines at the top to make it more sturdy. Otherwise when the baby wipes case is loaded, the fabric will pull slightly. The small pockets on top is to hold small essential items like nappy cream, and perhaps lotion or baby oil.

The two bottom pockets are for diapers and some clothes.

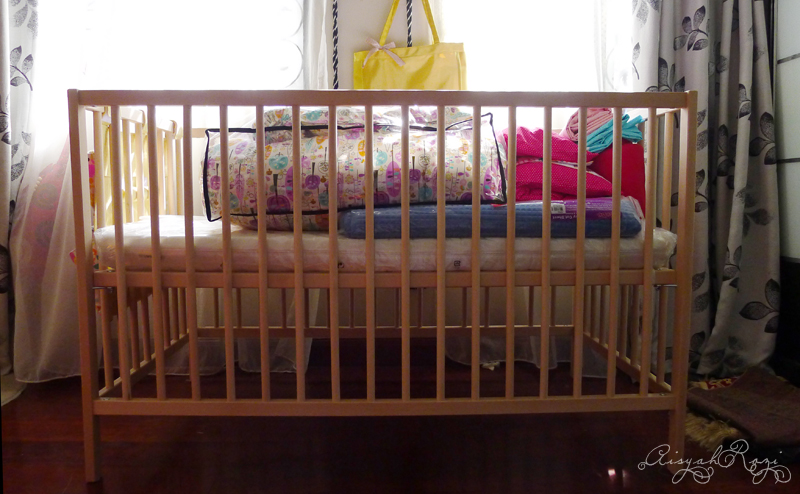
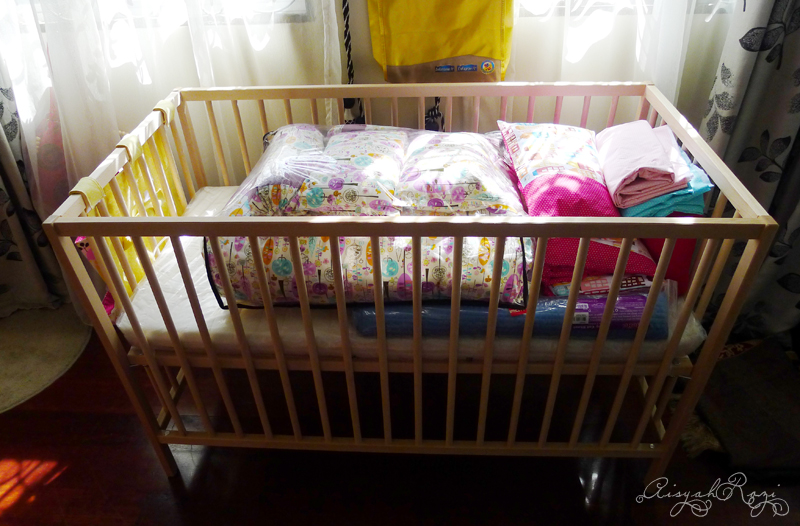
We got this SNIGLAR baby cot at Ikea. It costs RM165, (whaaat!). It doesn’t have a drop down side though, which I don’t really see the point of it. It’s either you co-sleep or not. Choose! At first I wasn’t too keen on getting this one because it’s Ikea. However, the reviews proved that this cot is long lasting, sturdy and meets safety standards in various countries. We tested it, and yes it is sturdy. We are sold.

sniglar-baby-cot

Anyway, what I love about it that the highest bed setting level up to our bed, and it’s paint-free! Meaning it’s low VOC and I’m just a freak when it comes to chemicals and stuff. I also love that it’s so simple and modern.

sniglar-baby-cot-2

Of course we are not putting this baby cot by the window. It’s just temporary until baby arrives. We also got the VYSSA SNOSA mattress for RM99 and also a mattress protector, LEN for RM29.90. Inside the cot: Tilam kekabu and baby nap mat.

Apparently, people are very opinionated when it comes to baby cot. In our Malay culture especially, we co-sleep with babies up until they are 2, (some even more than that). To me, it doesn’t matter if you want to co-sleep with your baby or not, I believe every parent is different, and they know what’s best for their children.

We’ve decided to use the baby cot for a number of reasons. My husband may have different reasons, but here are mine.

Number one reason is safety. My husband is a heavy sleeper, sometimes he even roll up against my side and I had to wake him up to move. We tried to move our furnitures around so that our bedside is placed against the wall, but Eddie disliked the arrangements and won’t stand it (I agree but was willing to compromise). In addition, I think we occupy most of the bed already and I wouldn’t want to have my sleep compromised because I don’t have enough space.

Next is attachment issues. I wouldn’t want my child to be too attached to me. I want her to be more independent. Also, having her in the cot will teach her boundaries. I’ll cuddle her, feed her and give all my attention to her but when it’s night time, I go to my bed and she goes to hers.

Whenever we mention we bought a baby cot, people would laugh and say it will never happen.

To me, I believe we can teach our children however we want them to be. If we speak English to them, they’ll speak English.  If we talk to them a lot, they’ll know how to keep conversation going. If we let them play, run, fall and make mistakes,  they’ll learn how to be fearless. If we put them in baby cot from day one, they’ll sleep in the baby cot.

Also, it’s not like I will put the baby cot in another room or anything, I will have the cot near our bed. So she’ll be safe and sound and also within my reach for me to feed her. If all else fails, I can just remove one side of the cot and have it pushed against the side of our bed, so it feels like co-sleeping but she’ll be on her own bed.

Kekabu Bed Set Covers (Baby DIY Project, part 2!)

kekabu-fabric

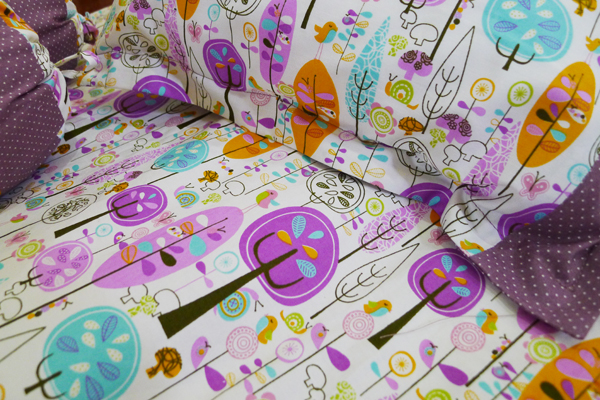
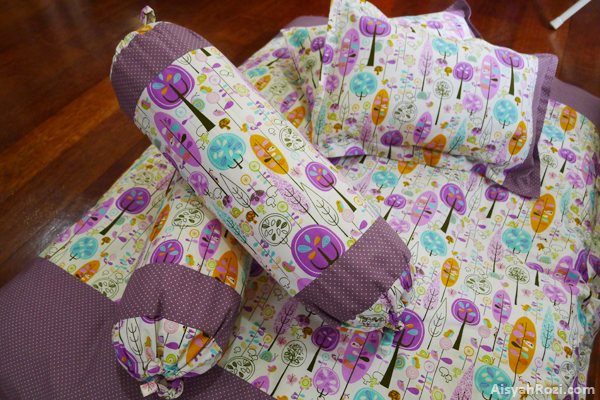
For this particular project, I ordered my fabric online at Kewl Cotton. I came home yesterday from Friday brunch with Syad to find my package arrived on time! Yeaay! I was so excited to start on the project, and I immediately pre-washed the fabric. Luckily the weather was in my favour and the fabrics dried within an hour.

Just a note, I always pre-wash my cotton fabrics. Since this one doesn’t have much starch (which is great!) I didn’t have to soak it. So I only pre-washed it incase it shrinks (although the owner claimed this one doesn’t shrink) it doesn’t hurt to be on the safe side!

I recommend this shop to get your cotton fabrics, she has some really cute designs! However, do be careful with the colours as the colours in her albums are not so accurate. Regardless, the owner is really nice and she helped me to match the fabrics according to the colours. Weee! It can be confusing to match colours on screen.

Anyhow, after sewing most of the evening, I finished this project this morning. Normally, I should’ve done it in shorter time, but being enormously pregnant, sewing was definitely a challenge. If it was not for my belly getting in the way, my feet would get bloated when I stay in the same spot. So I had to take a break every hour or so or I’ll have to walk like a zombie in the most awkward way. Not very elegant I would say.

tilam-kekabu

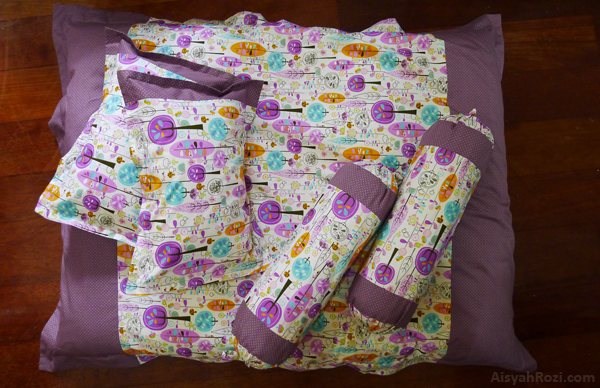
Set Tilam Kekabu. I’ve been looking for it for a while. Found online ones, and they are pretty expensive. The good looking ones cost above RM200. So Eddie asked his mum incase she knows where to get them in Penang. And guess what, she got a set for us! Yeay, Alhamdulillah. She said Eddie’s aunt got this one on the roadside or something, just like that. Kekabu is really hard to find in the city.

My mum said it’s very rare nowadays. She put all of us on tilam kekabu when we were babies, and she even made it herself. She only had to make one set, and it lasted all through her 5 babies, only the covers changed. So, Alhamdulillah for this one. I hope this one will last as long too.

kekabu-bantal

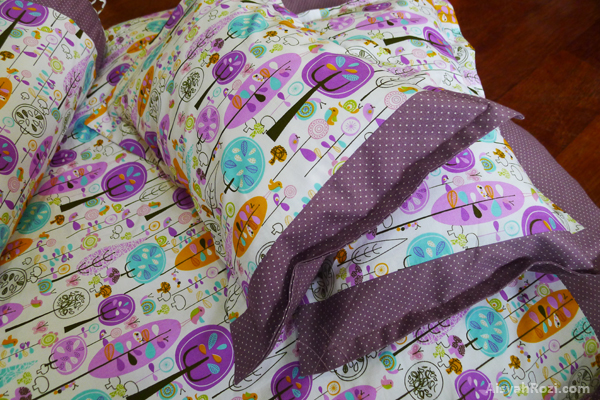
The set comes with two bolsters and two infant pillows. The first bolster was a pain, only because I didn’t know how to construct it. Once I figured it out though, it came easy.

bantal-kekabu

The pillows.. I screwed up the measurements but I guess it worked. Just not as perfect as I envisioned it.

I had a lot of facepalm moments with this one.

First, the table light on the working table was mysteriously missing. I pretty much sewed the bed cover in the dark. My eyes almost went blind because I couldn’t see where the threads were going. After I was done, I realized the table lamp was sitting on the floor, right next to where I was sitting when I was measuring and cutting the fabric! WTF??!!! UGH HAHAHAHA. I facepalmed really hard. Literally.

Next, as I tried the bed cover on the tilam kekabu, I realized it needed velcro or some sort of closure to make it look neater from the top. So, I grabbed the thinnest velcro I had. Only, this velcro has glue on the back. I was happy to use it because of the convenience of the glue.

Then I started sewing the velcro on. It was great for a couple of stitches  before the problem arose. The machine stopped stitching! After much struggle, I realized that it was the glue getting to the needle and thread, thus making any stitch impossible. I had  12″ of velcro to sew on, and there were two pieces! I just, wanted to stab myself for getting into so much trouble. I should’ve just used the 2″ of regular velcro and saved me all these trouble.

Finally, no thanks to this preggo brain, I measured AND cut both of my bolster and pillow covers wrongly. The bolster covers were fortunate because I cut them bigger in size. So it was just the extra work. However, the pillow covers were 1″ short. And I had to compromise. Unhappy about it, but I had to compromise because I used up all my fabrics. and I hate compromising my projects! *architect in me talking LOL*

The conclusion is, I should’ve started making the baby projects earlier. Best is before 30 weeks. Being 37 weeks and trying to work, is definitely a challenge. For me, I just can’t avoid it. I was so busy before and now that I’m not, I’ve got this crazy eyes going on that I just HAD to make all these projects.

Overall, I’m very pleased with the result (if I can forget the imperfect pillows). LOL. Now lets just focus on the cuteness of this tilam kekabu! Love! Hope my baby will love it. She’s got a dedicated (and crazy nuts) mummy  ;D

Baby DIY Projects (Awesome!)

I realized I’ve been neglecting my blog, yet again. So sorry guys. I was busy with work in the past, and since last 2 weeks, I’ve been busy with baby projects DIY! Yeaay!

Ever since I started working on baby DIY projects, I’ve been more and more excited about baby’s arrival. It made everything seems more real. I’m at 36 weeks at the moment, and honestly, sewing is a challenge when your tummy is in the way. It was much harder for me to measure, and cut fabrics especially. So that slowed down the progress.

Anyway, baby project #1:

1. DIY baby binder

baby-binder

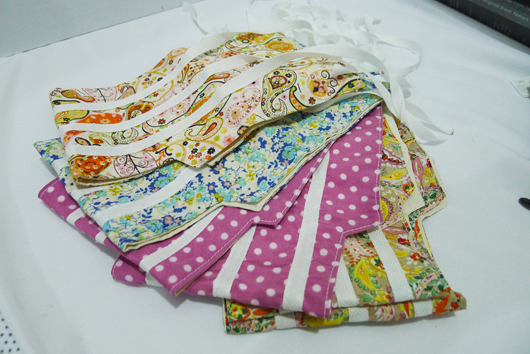
Made 6 of these. My mum recommended me to make 10, to last between washes. I also made them in slightly varying sizes, only because I don’t know how small or how big my baby will be. It costed me RM1.60 for the ropes for all these. All the fabrics are scrap fabrics I found in my fabric stash. I was surprised to find that much cotton scraps in my stash, and they are all perfect for baby’s skin! It would cost RM5 each to buy at the stores for plain ‘ol white ones. I say, BORING!

I’ll probably make some more when I’m bored. It only takes me about 10 to 15mins to make one. So easy. 🙂

2. Baby travel nap mat.

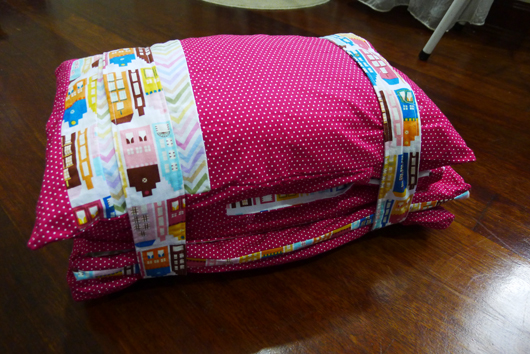
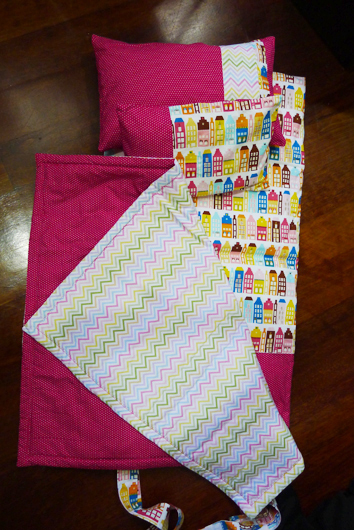
This is for my baby to take a nap on when we’re visiting or out and about. This is not really a huge necessity. I mean whenever I’m travelling, I can just find a regular comforter and fold them for the baby but hey, I’m a stylish mama, I want my baby to look and feel stylish too! HAHA.

napmat01

The straps keep all the components together; two pillows, a mat, and a blanket.

napmat02

I added batting onto the blanket for extra comfort. I also made my own nap mat. The chevron and doll house fabrics are both Robert Kaufman’s fabrics. The pink pin polka dot fabric is English cotton from Jakel. 

Read More

Go Top